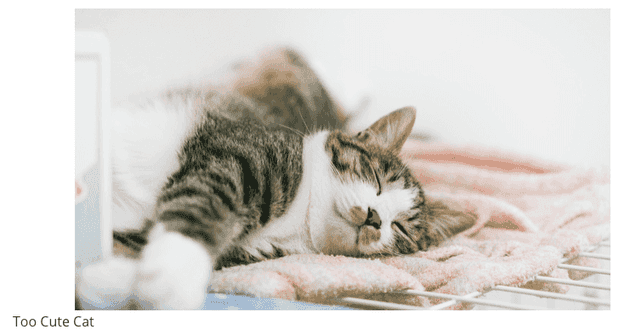
こぷらです。 Gatsby でブログを作成中に、画像へキャプションをつけたくなりました。 やり方が無いか調べてみたら、以下プラグインのドキュメントに期待通りのオプションが説明されていました。
そこで今回は、Gatsby で作ったサイト上で画像にキャプションを設定する方法について紹介したいと思います。 それでは早速始めましょう。
目次
TL; DR;
gatsby-remark-images プラグインのオプションで showCaptions: true に設定する。
{
  resolve: `gatsby-remark-images`,
  options: {
    showCaptions: true, // Option for caption
  },
},
title 属性か、それがなければ alt 属性の要素がキャプションとして表示されます。
設定方法
gatsby-remark-images プラグインのオプションで設定が可能です
なお、このプラグインを使うためには、別途 gatsby-plugin-sharp と gatsby-transformer-remark プラグインが必要なため、合わせてインストールしてください。
npm install gatsby-remark-images gatsby-plugin-sharpplugins: [
`gatsby-plugin-sharp`,
{
resolve: `gatsby-transformer-remark`,
options: {
plugins: [
{
resolve: `gatsby-remark-images`,
options: {
showCaptions: true, // Option for caption },
},
],
},
},
]どの要素がタイトルになるかは、ドキュメントの説明文でこう書かれています。
Add a caption to each image with the contents of the title attribute, when this is not empty. If the title attribute is empty but the alt attribute is not, it will be used instead. gatsby-remark-images | https://www.gatsbyjs.com/plugins/gatsby-remark-images/?=images
つまり、title 属性が指定されていればその値を、なければ alt 属性の値を使用します。
ちなみに Markdown ファイル内で画像を挿入する際の alt, title 属性は以下のように指定可能
スタイリング
デフォルトでは画像の下中央に来てないので、css を編集します。 ついでに、文字色も目立たないようにしています。
figcaption {
  text-align: center;
  color: gray;
}
ほんの少しの変化ですが、スタイルの適用前後でみやすさが段違いです。
Before Styling
After Styling
表示項目の優先度を変更したい
デフォルトでは title 属性を優先しますが、alt 属性を優先したり title を指定しなかったら何も表示したくないときもあると思います。
その場合は、オプション指定時に true の代わりに、配列で優先順位を与えることもできます。
以下例では、caption の値に title 属性だけを反映するようにしています
{
  resolve: `gatsby-remark-images`,
  options: {
    showCaptions: ["title"],
  },
},
キャプションを <p> 要素で扱いたい
追加のオプションとして、キャプションの要素を変更できます。
具体的には markdownCaptions オプションを指定すると、<figcaption><p>title</p></figcaption> となります。
{
  resolve: `gatsby-remark-images`,
   options: {
    showCaptions: true,
    markdownCaptions: true,
  },
},
<!-- markdownCaptions: false (default)-->
<figure>
<img .../>
<figcaption>title</figcaption>
</figure>
<!-- markdownCaptions: true (default)-->
<figure>
<img .../>
<figcaption>
<p>title</p>
</figcaption>
</figure>どちらがいいかはお好みだと思いますが、参考までに。
まとめ
今回は Gatsby のプラグインを使って、画像にキャプションを付ける方法を紹介しました。 かんたんに設定できたので、皆さんも是非やってみてください。
それでは。
